Welcome to Microsoft's Windows Vista Enterprise Install guide step
by step on a new/blank hard drive that is not seen by Windows.. This guide will show you how to install
Windows Vista. This install guide is fully graphical and will take you through each step of
the installation.
What you will require to do this walkthrough is
-
A Windows Vista Enterprise CD or DVD
-
A Computer with CD-ROM or DVD-ROM access
-
Floppy disk, CD or other storage device with
Motherboards Sata driver.
-
Bios set to boot of the CD/DVD-ROM drive. ( Check
out this guide for help with the BIOS )
To start this Windows install insert the first CD or the DVD
into the drive and start or restart your computer
This Guide is based on Vista Ultimate RC1 release, any
changes in future releases will be updated.
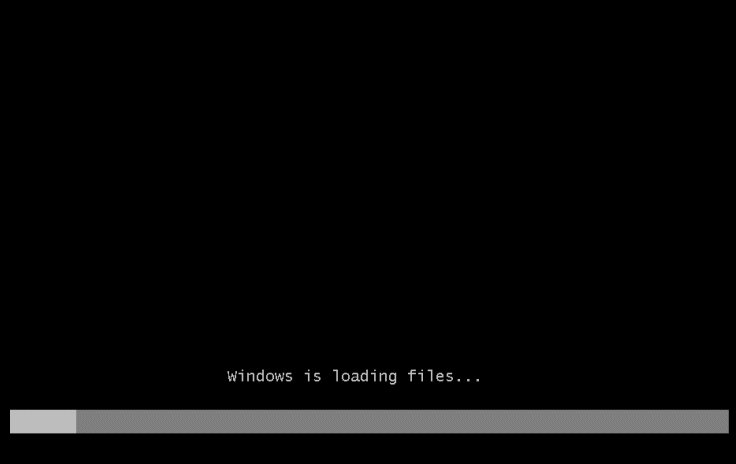
Windows automatically run as the hard drive is blank,
and will load files, this may take some time so
be patient.
The Windows Vista install will the begin to load.
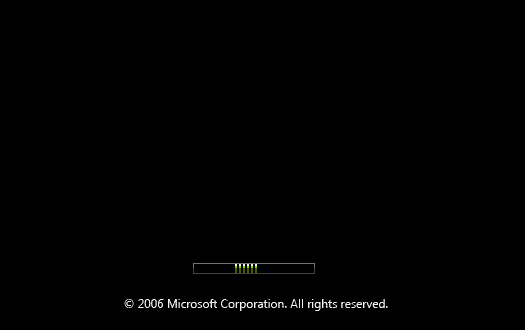
Some of these stages can take quite sometime so be patient.

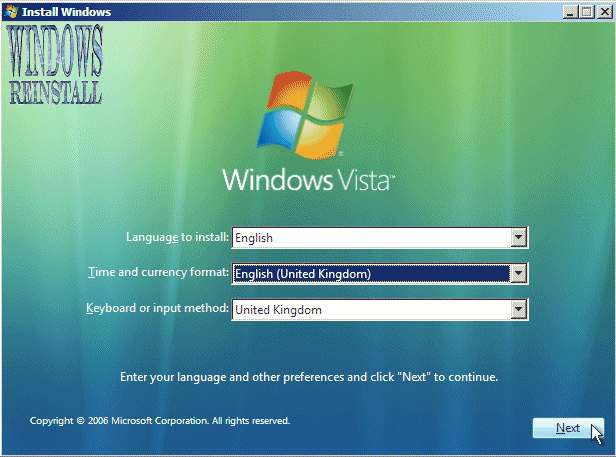
Now select your install Language,
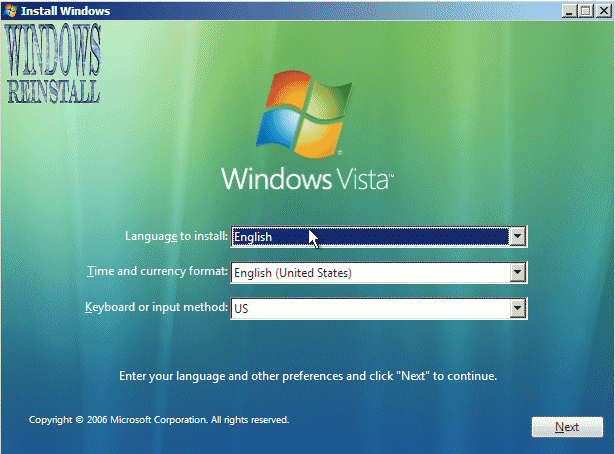
Time and Currency Format,
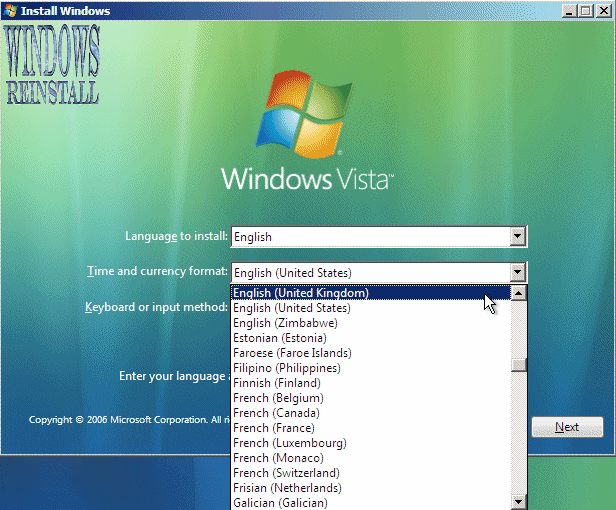
plus keyboard type, once you are happy with the settings,
Click on "NEXT" to continue.
From the next screen click on "Install Now" to
continue.

Windows will begin to carry out some processes.


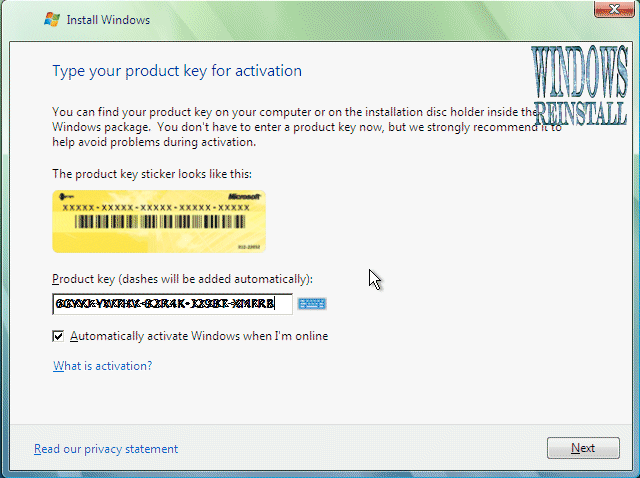
This section is the collecting information part. First you
will need your Windows "Product Key". This will be on the disk
packaging provided with your CD's/DVD's. The product key will be 25 digits
long and will contain letters and numbers.
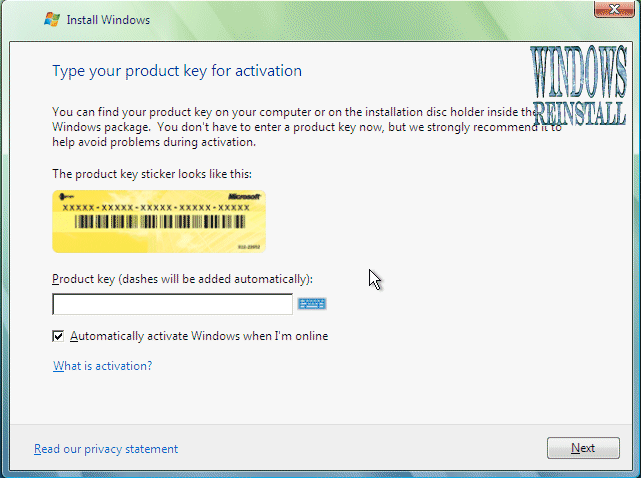
Input key (Dashes will be added automatically), and
click next when completed.
Now the License terms: Read and confirm that you accept the
License by selecting the box on the bottom left of the screen.
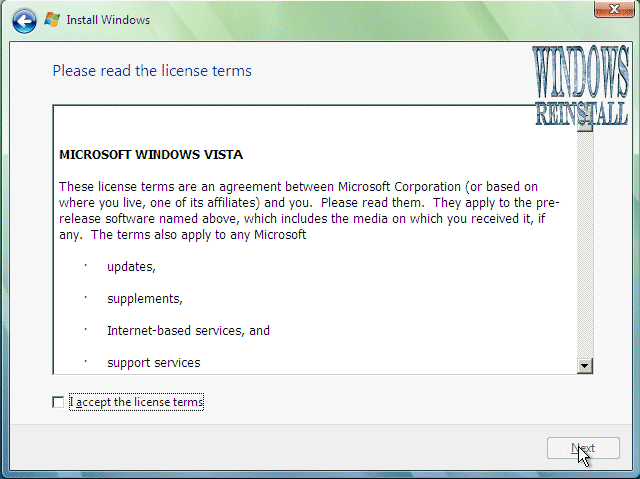
Once done click next to continue.

Now you will asked the type of installation you wish to do.
Click on "Custom" to continue.

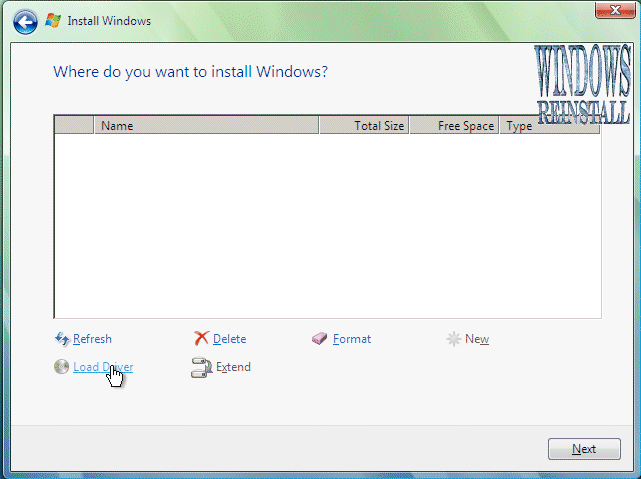
Next you will select the location of the install. The
hard drive is not seen due to Windows Vista not having the driver. This
driver should be supplied with your motherboard, if not it will be available
for download from the motherboards manufacturer. This file will then needed
extracted and copied a Floppy, CD or USB storage device.
To continue click on "Load Driver"
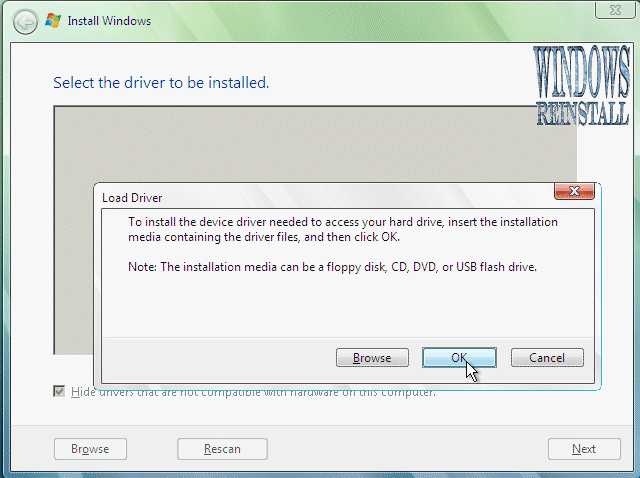
Now insert the media that stores the drivers for the device
and click OK
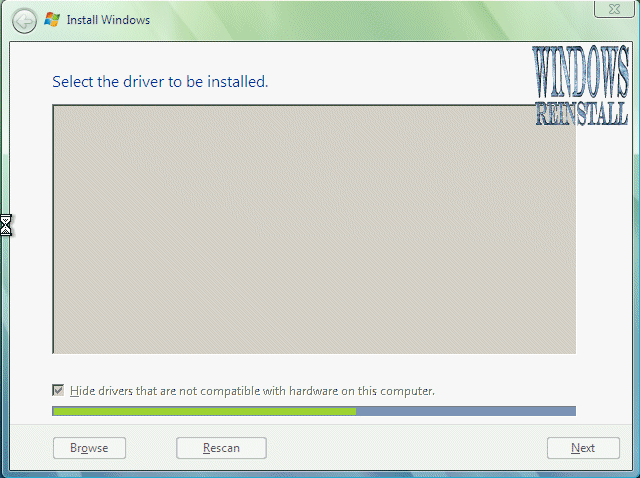
Windows will search for it on all available devices.
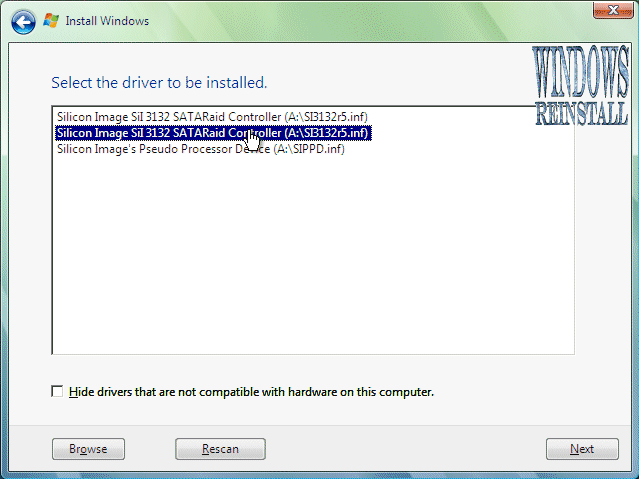
A list of available drivers will appear, select the one that
matches your motherboard or hard drive. Click "NEXT" to continue.
The Hard Drive should now be seen, if not click "Load
Driver" and try a different one, or you may need to download another
driver from the manufacturers website.
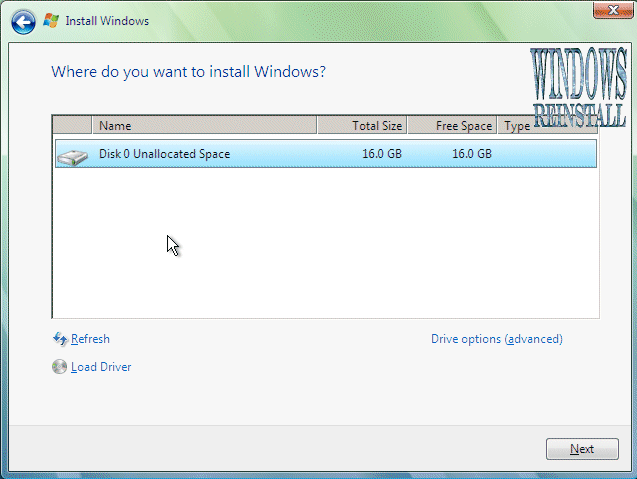
Next you will select the location of the install.
Select the drive, and then click on "Drive Options" to setup and
Format the drive. Alternatively you can just click "Next and windows
will use max space available." If you use the later the go straight to
"Part 3" of this guide.
To setup the harddrive, click on "NEW"
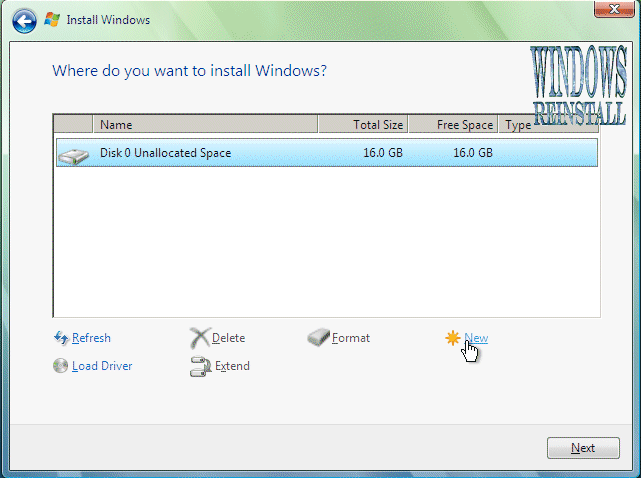
Select the amount of size you wish to use and click on
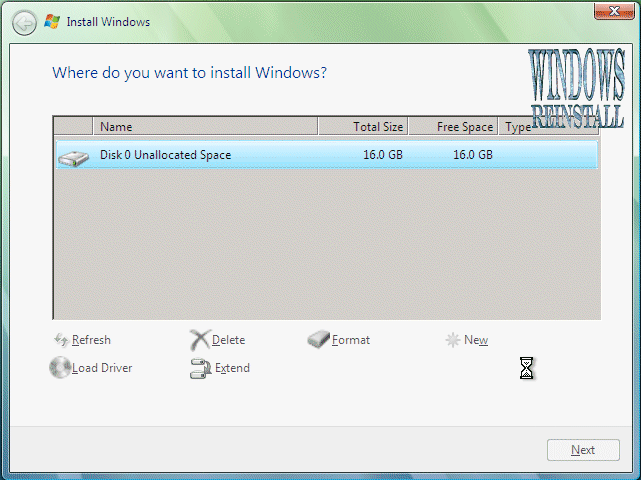
"APPLY".

It will take a few moments to apply the settings.
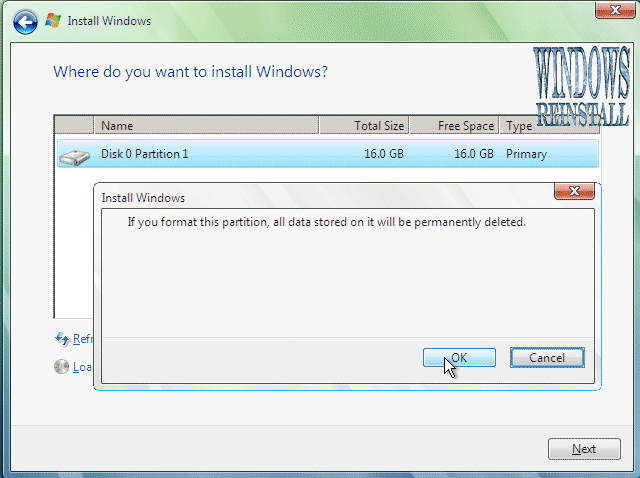
Once done, click on "FORMAT" to format the drive.
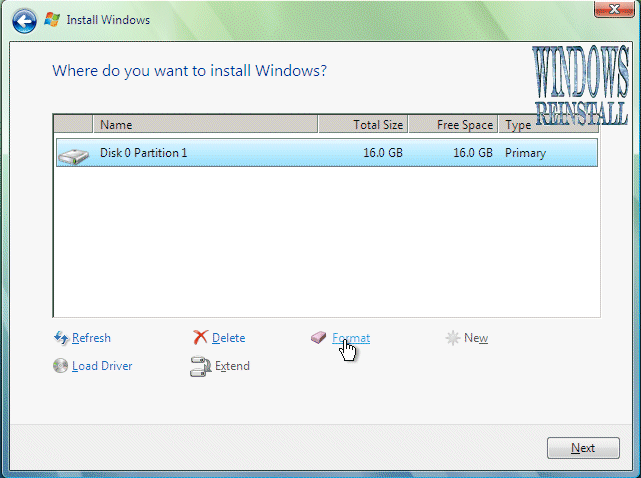
You will receive a warning, click "OK" to
continue, as all info will be permanently deleted.
Windows is now formating the drive, this may take a few
moments so be patient.

Once done click on "NEXT" to continue.


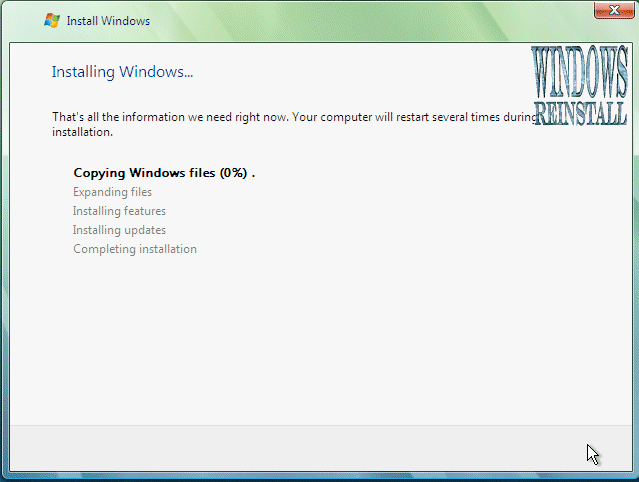
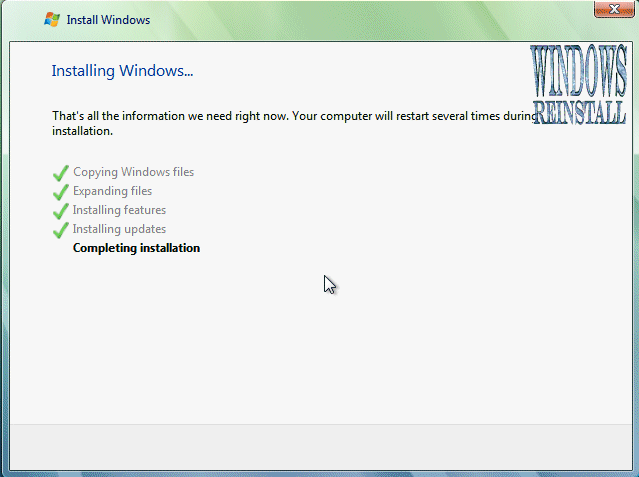
This section is for installing Windows, it will take
sometime and does not require any input from you, so go make a cup of tea or
watch TV as it may take up to an hour. Make sure there are no disks in your
floppy drive, as the computer will reboot a few times during this process.
Windows now copies files:
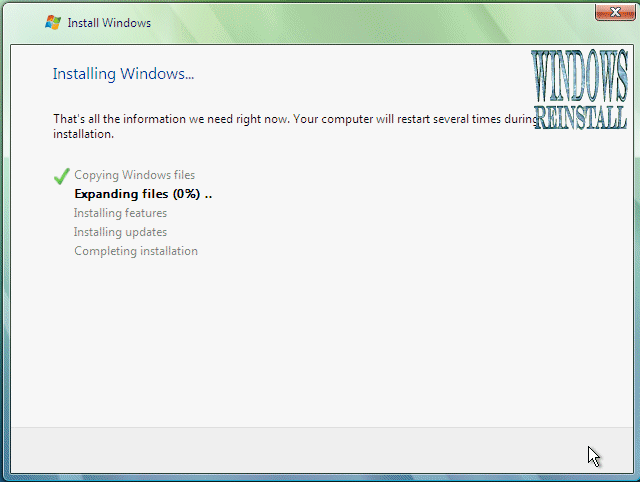
Windows expands the files:
Windows is installing features:
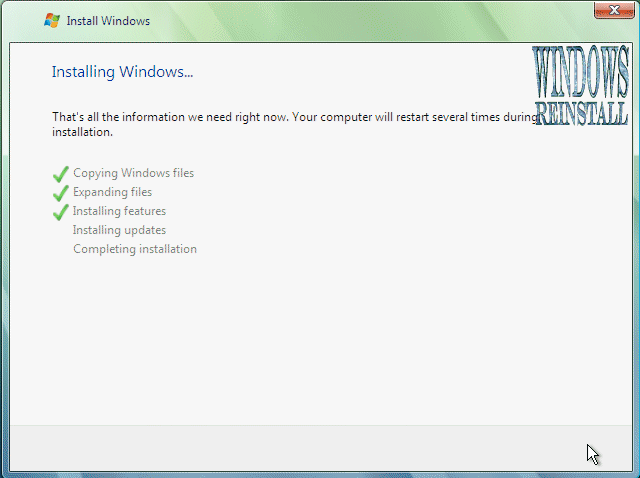
Windows is installing updates:

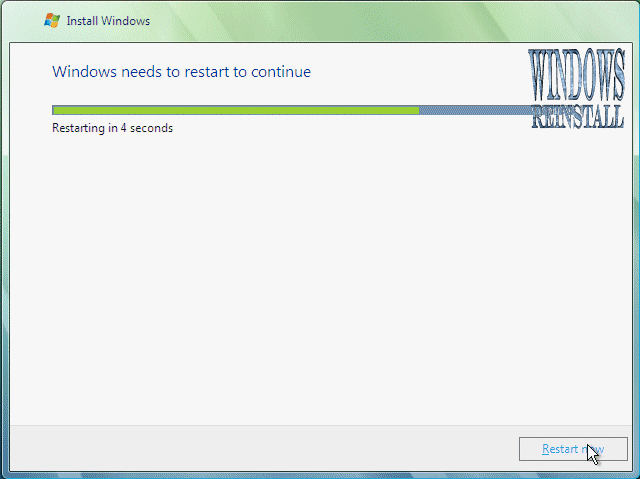
Windows is doing a restart: It will do this automatically if
you are not about, otherwise you can click "Restart Now" to speedthings
up slightly.
The computer reboots:
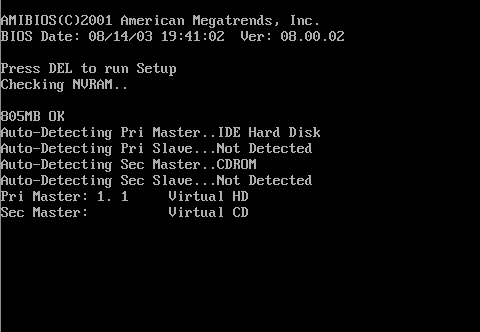
If you get this message then you have left the a floppy disk
in the floppy drive or your harddrive is not in the BIOS boot sequence
correctly. Remove disk or fix BIOS then press "Any Key" to
continue.

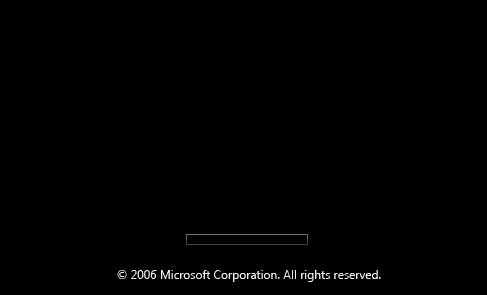
Windows continues Loading:
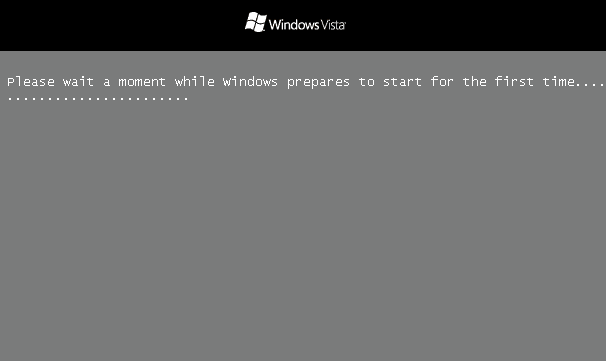
Windows is now booting for the first time, don't be fooled
there could still be a few reboots and quite a bit of installing to go.
Windows continues to install:

Windows does more updating and installing:
Windows reboots a few more times:

and then finally:

Setup is almost complete:
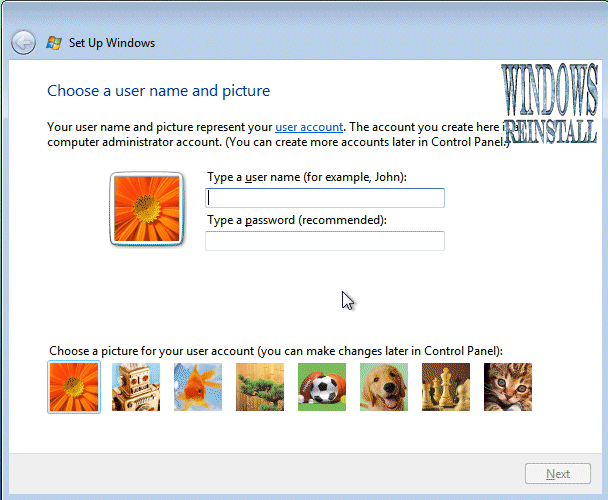
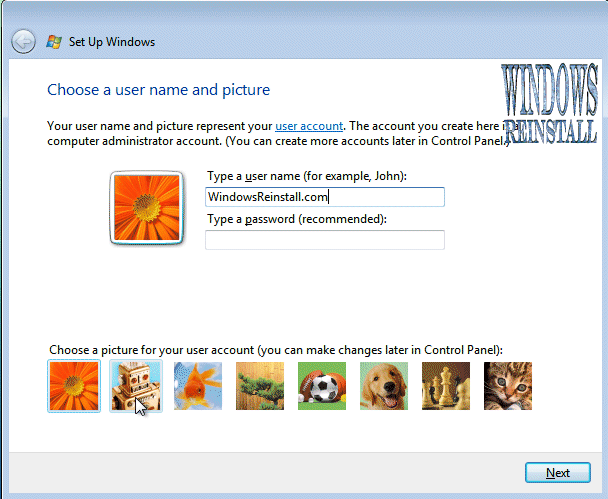
Next Input your Username for the computers Administrator
account. Then Click on Password.
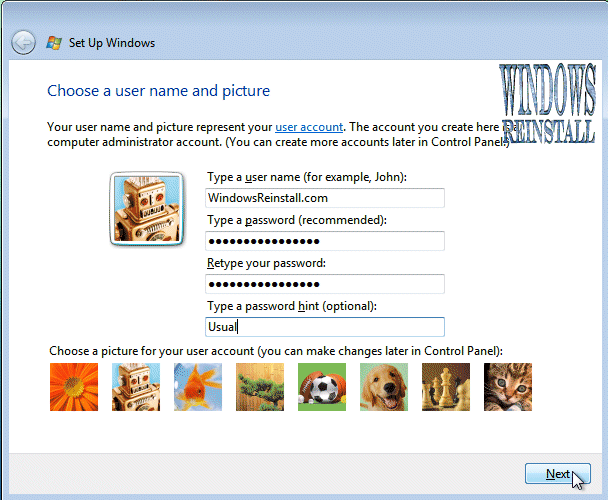
Now input your password (One you will remember) and then
retype the password to confirm. Also type in a password hint that would help
you remember it just in case. Once done click "NEXT" to
continue.
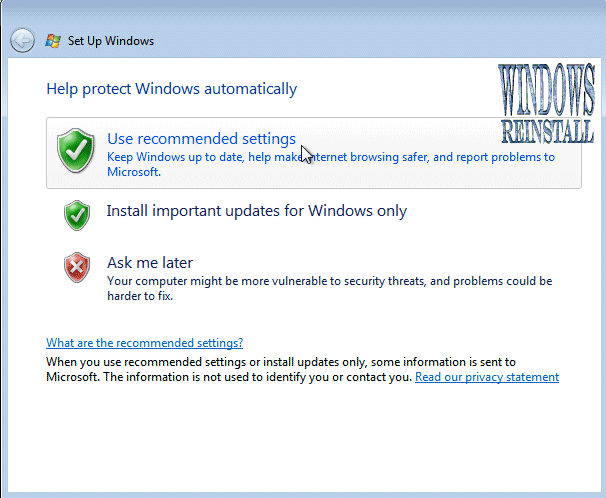
Now select your Windows protection method. We recommend the
top option "Use Recommended settings", click on your selection to
continue.
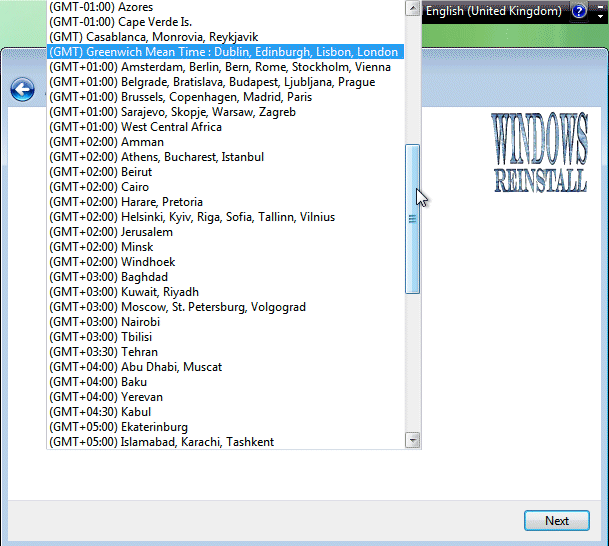
Next you need to check the time zone is correct and also the
time and date. Time and date in from the BIOS, but "Time Zone"
needs to be set. Click the "Down arrow" at the end of the box.
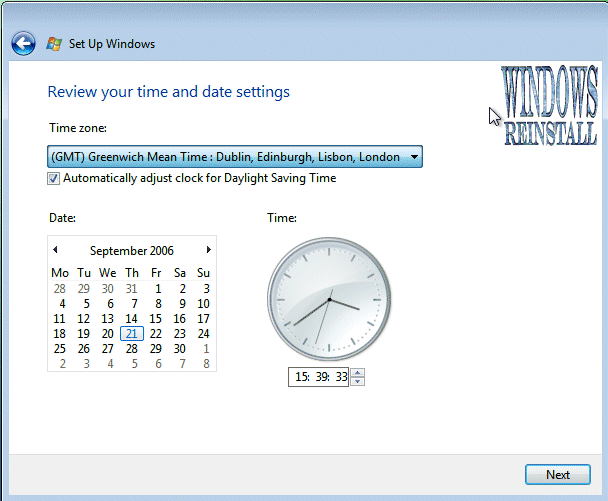
Now select your "Time Zone". Once you are happy
with your selection click on "NEXT" to continue
That is all the information gathered that is needed, Windows
Install will thank you, click on "START" to continue....

Windows will now check your computers performance.....
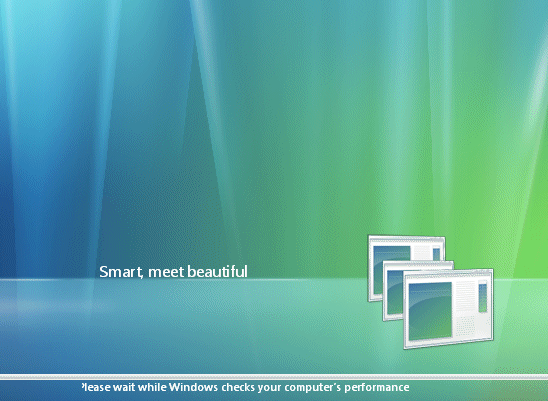
and begin to load.

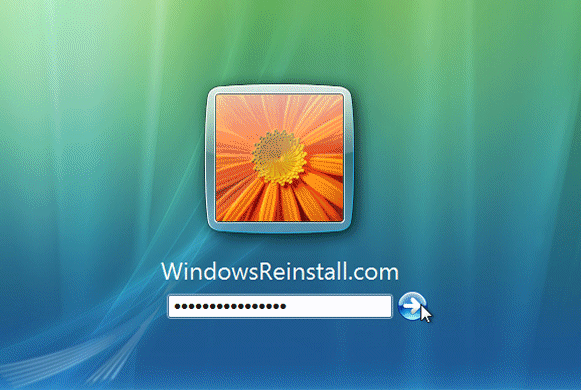
Now the Windows "LOGIN" screen.
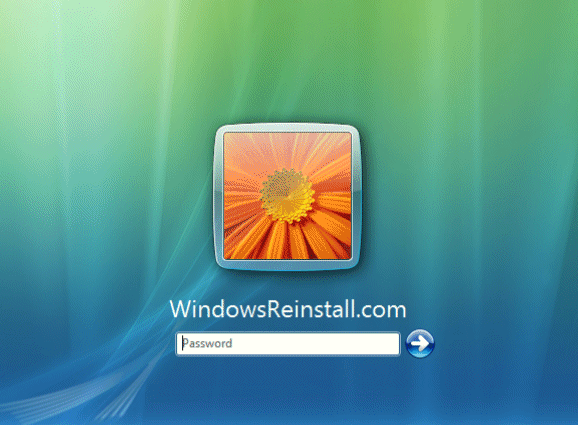
Type in your password and click on the arrow (Or press
"ENTER") to continue.
Windows "WELCOMES" you....

Windows now "PREPARES THE DESKTOP"
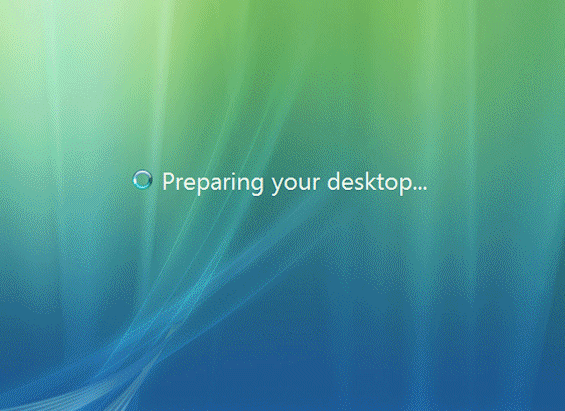
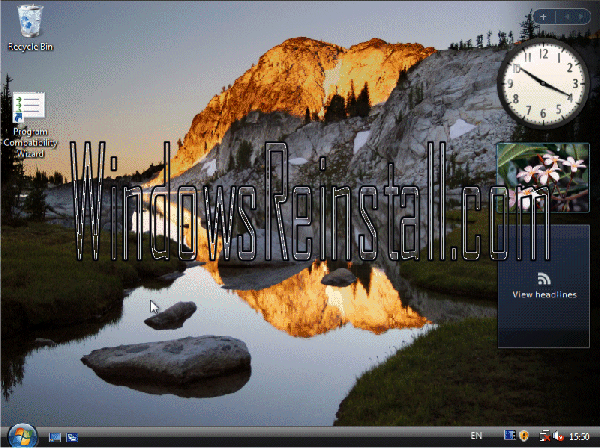
Windows desktop appears and the stages of the install begin.
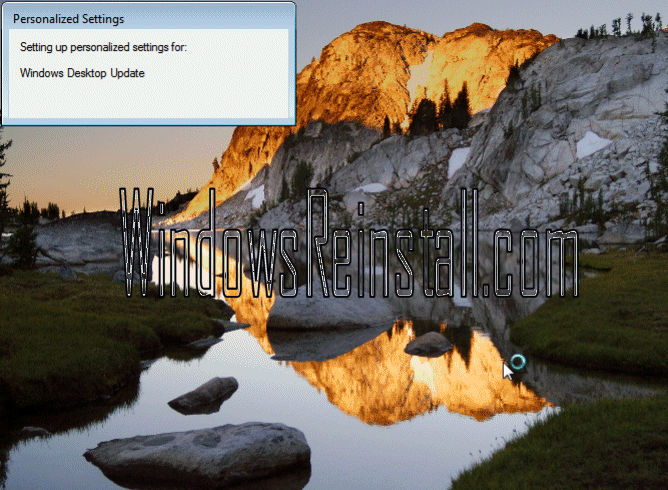
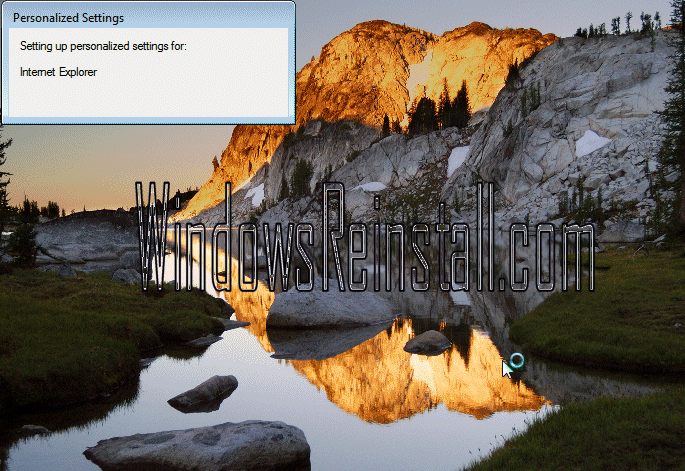
Several personalised settings will be installed.
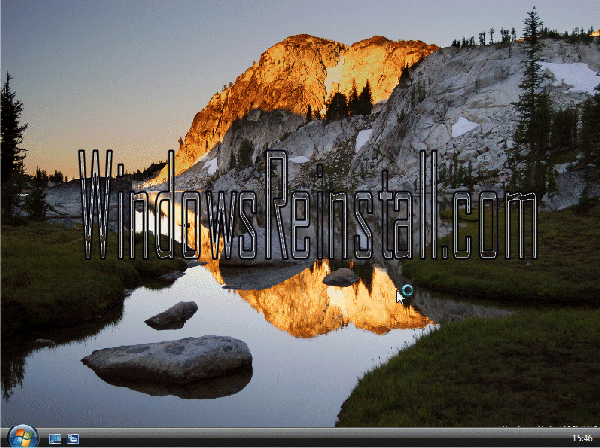
The desktop will soon appear.
It is time to check your drivers and install all other
software that you will require.
THE END